
Tuesday, 6 November 2012
Cutting off the oppertunity to learn and create.
Such a sad day - our tutors just broke the news to us that our Jewellery and Accessories course is being shut down. We get to graduate after our final year but there will be no more students coming into first year and carrying on the course which is extremely sad. The course has invaluable qualities and is 100% one-of-a-kind. Tutor/student time is invaluable with all five tutors giving their all to help throughout the four years of study, numerous guest lecturers, working crafts people and designers coming in to talk to us throughout the year and a year set aside for work eperience and placement in the fashion/jewellery industry which is something completely unique to the course. The oppertunities and experiences given to students on this course are invaluable and like no other. We are the only course in the university that sits and uses the metal workshops on a regular basis, as well as making the most of other workshops such as ceramics, photography, laser cutting, wood workshops, casting/plaster workshops etc. We use such a vast space across the university and make having those assets worthwhile to the university. We are a specialist course, yet we use so many different mediums. We make the most of our unique course! Employablitiy after graduating is very very high and our course is ranked amongst the highest seen at BA level in the UK. Why are they taking us out of the equation? We have exceptional links to the industry. Our course is not protentious, we do not design for the sake of it. We are thinkers and we are makers. Our skills are vast and our techniques are specialist. We don't want these specialist skills and techniques to be lost. We are the future of craft and design and making. Middlesex have made a very big mistake.
Tuesday, 30 October 2012
We're Back!
 |
| Woolen chevron necklace, any 3 colour combination, £6.00 each |
.jpg)
 |
| Bunting Necklace, £6.50 |
 |
| Double Cross Drop Earrings, £3.00 pair |
 |
| Feed Me Rings, £3.50 each |
 | ||
| Bakewell Tart Ring, £3.50 ONLY 2 LEFT! |
 |
| Blue & Gold Vintage Style Ring, £3.00 |
 |
| Selection of woolen hand made bracelets, from £3.50-£4.50 |
 |
| Skull Hand Harness, £4.50 |
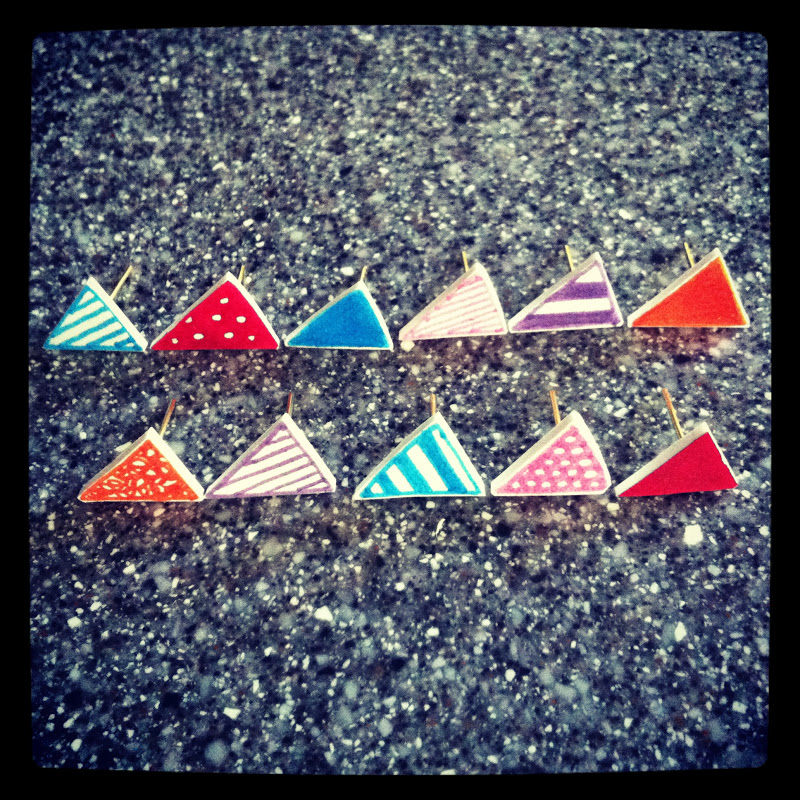 |
| Bunting Stud Earrings, £2.50 pair |
 |
| Pink and Silver Colour Cross Drop Earrings, £3.00 pair |
 |
| Green Leaf Drop Earrings, £2.50 ONLY 1 PAIR LEFT! |
 |
| Carved Heart Necklace, £5.00 ONE-OFF, COMPLETELY UNIQUE! |
 |
| Selection of hand made woolen bracelets, from £3.50-£4.50 |
 |
| Sparkly Tassel Necklace, £5.00 |
 |
| Multicolour tassel necklace, £5.00 |
 |
| Watermelon Necklace, £5.00 Skull Necklace, £4.00 |
 |
| Cake Stand Necklace, £6.50 |
 |
| Hot Air Balloon Necklace, £6.50 |


 |
| Playing Card Necklace, £4.00 |
 |
| Miniature Dice Necklace, £4.00 |
 |
| Gold Feather Drop Earrings, £3.00 |
 |
| Turquoise Bead Necklace, £6.50 |
 |
| Teacup & Spoon Drop Earrings, £3.50 pair GOLD OR SILVER COLOUR SPOON |
 |
| Miniature Blue Jug Necklace, £5.00 |
 |
| ONE-OFF Terracotta Bow Necklace, £4.00 |
Sorry for not posting in such a long time! Been a very busy Summer and currently knee-deep in uni work but found a spare minute to update you on what's new! Take a look at the LASJ website for links to all the new products. www.little-april-showers-jewellery.co.uk
Wednesday, 11 July 2012


Tuesday, 29 May 2012
DIY Teacup/Mug Candles
Here's a simple, quick and easy way to make the perfect personal gift when youre a bit strapped for cash! (and it's fun to do too!!)

You will need:
Teacups, mugs, egg cups or whatever else you fancy!
Old candle ends (or a cheap set of candle sticks from a discount store)
Saucepan
Empty tin can or metal jug
Cooker
Stirring utensil (a wooden lolly pop stick would be perfect)
Newspaper or old magazines to cover the work surfaces

If using old candle ends make sure you have a fair amount to make sure you fill the teacup.
Chop off the bottom end (keep this to melt) and simply pull out the wick from the bottom.
If there is a long enough length, use this for your new candle. If not you will have to buy a wick from a craft shop or from the internet.
If using shop-bought unused candles, cut off the bottom (keep this) and pull out the long wick.
Cut down to the required length using the height of the teacup as a guage.
Chop the wick-less candle into small chunks.
Fill the saucepan with water and bring to a steady heat/simmer.
Fill the tin can with the lumps of wax.
Place the tin can into the hot water and keep there until all the wax has melted.
Make sure you stir the wax every now and again while it's melting.

Dip the bottom end of the wick in the melted wax and press down into the base of the teacup to keep it in place.
Use some tape to keep the wick upright and in place while the rest of the wax is poured on.
Gently and slowly pour the melted wax into the teacup until it reaches about 1cm from the top of the wick.
PLEASE BE CAREFUL! THE WAX WILL BE EXTREMELY HOT (AS WELL AS THE WATER IN THE SAUCEPAN) SO KEEP AWAY FROM SKIN AND EYES. YOU MAY EVEN WANT TO WEAR RUBBER GLOVES WHILST DOING THIS.
Let the wax is dry for approx 3 hours. You will begin to see the wax returning to its original colour once it starts to set. Keep in a cool, dry place whilst setting.
If you find you dont have enough wax to fill the cup, simply melt some more candle and top it up!

Finished! Here I have decorated mine with shells as I live by the sea but you can use glitter, perminant markers, cabochons, all sorts! Or just tie a pretty ribbon and gift tag around it ready to be given to that special friend.

Or you could do what I did and keep them all for yourself! ;)

DIY Rug Clutch
Following on from the DIY month Ive just seemed to have and the outcomes in the previous post, Ive decided to do a few tutorials! So here's my first one: How To Make A Rug Clutch.


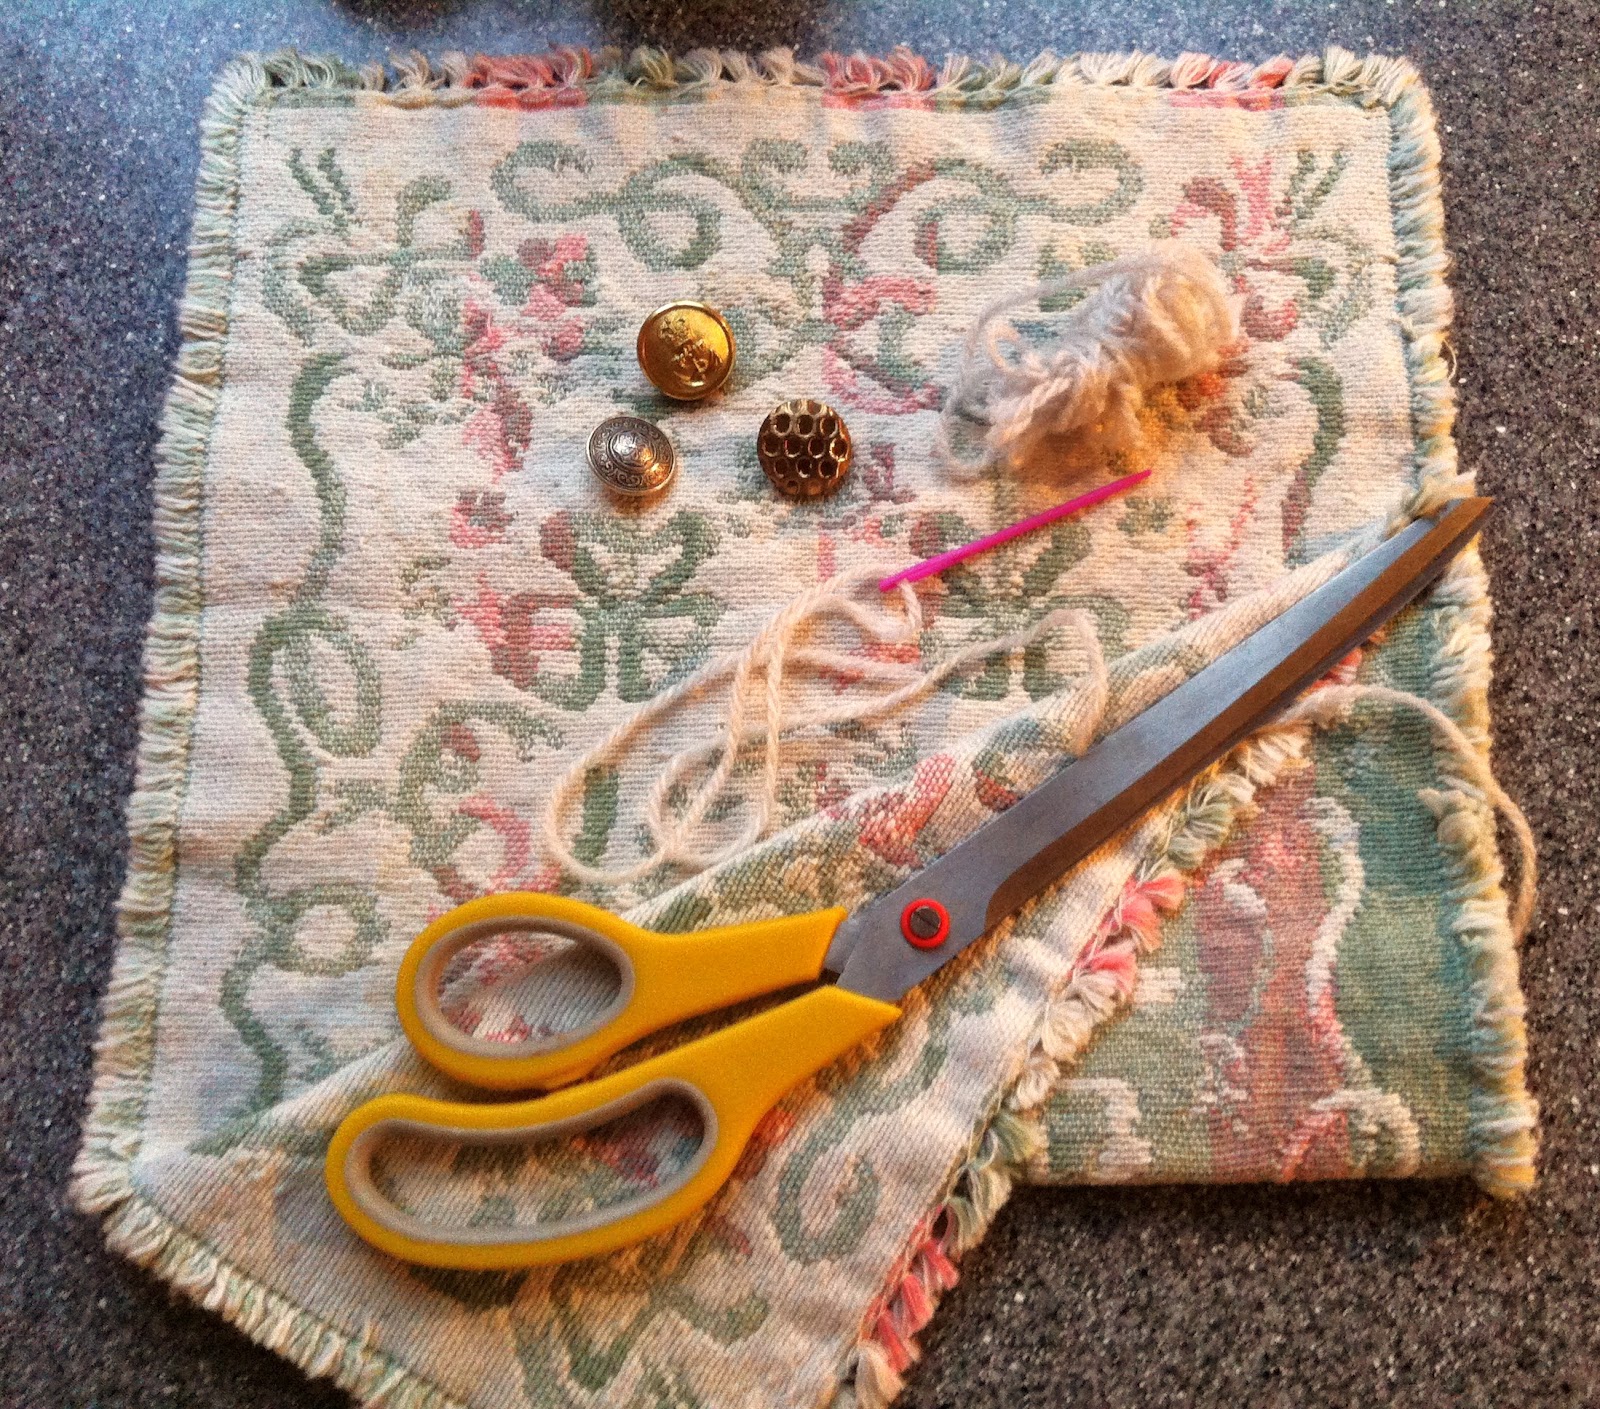
You will need:
Small rug (I picked up mine from a charity shop for 50p)
Wool of choice (I chose a colour within the rug)
Wool needle
A button/clasp to seal the clutch
Scissors

Lay the rug out flat with the good side down.
Fold up the bottom half to the required height. This will be the depth of your bag. Make sure you have enough room to carry the essentials!

Fold the top half over the bottom half to make sure you have the right proportions and are happy with how it looks overall.
Adjust the height of the bottom half if necessary.

Unfold the top half now you know your proportions are looking good.
Hand stitch from bottom to top of one side of the bottom fold using the wool needle and wool of choice.
Small neat stitches about 1cm from the edge work well.
Repeat on the opposite side.

As you can see, both edges have been stitched to form the holding compartment of the clutch bag.

Fold over the top flap and sew on a button/clasp/toggle in the centre of the bottom edge of the top flap.

Mark the spot under the button/toggle where the loop will be sewn in on the bottom fold.
With the needle and thread, come through the back of the bottom fold and make a small loop for the button/toggle to fit through and tie off.
This will hold the top fold in place and keep all your belongings safe!

So there we have it, ta da! Simple, quick and easy clutch bag... oh and unique, stylish and cheap!
Subscribe to:
Comments (Atom)