
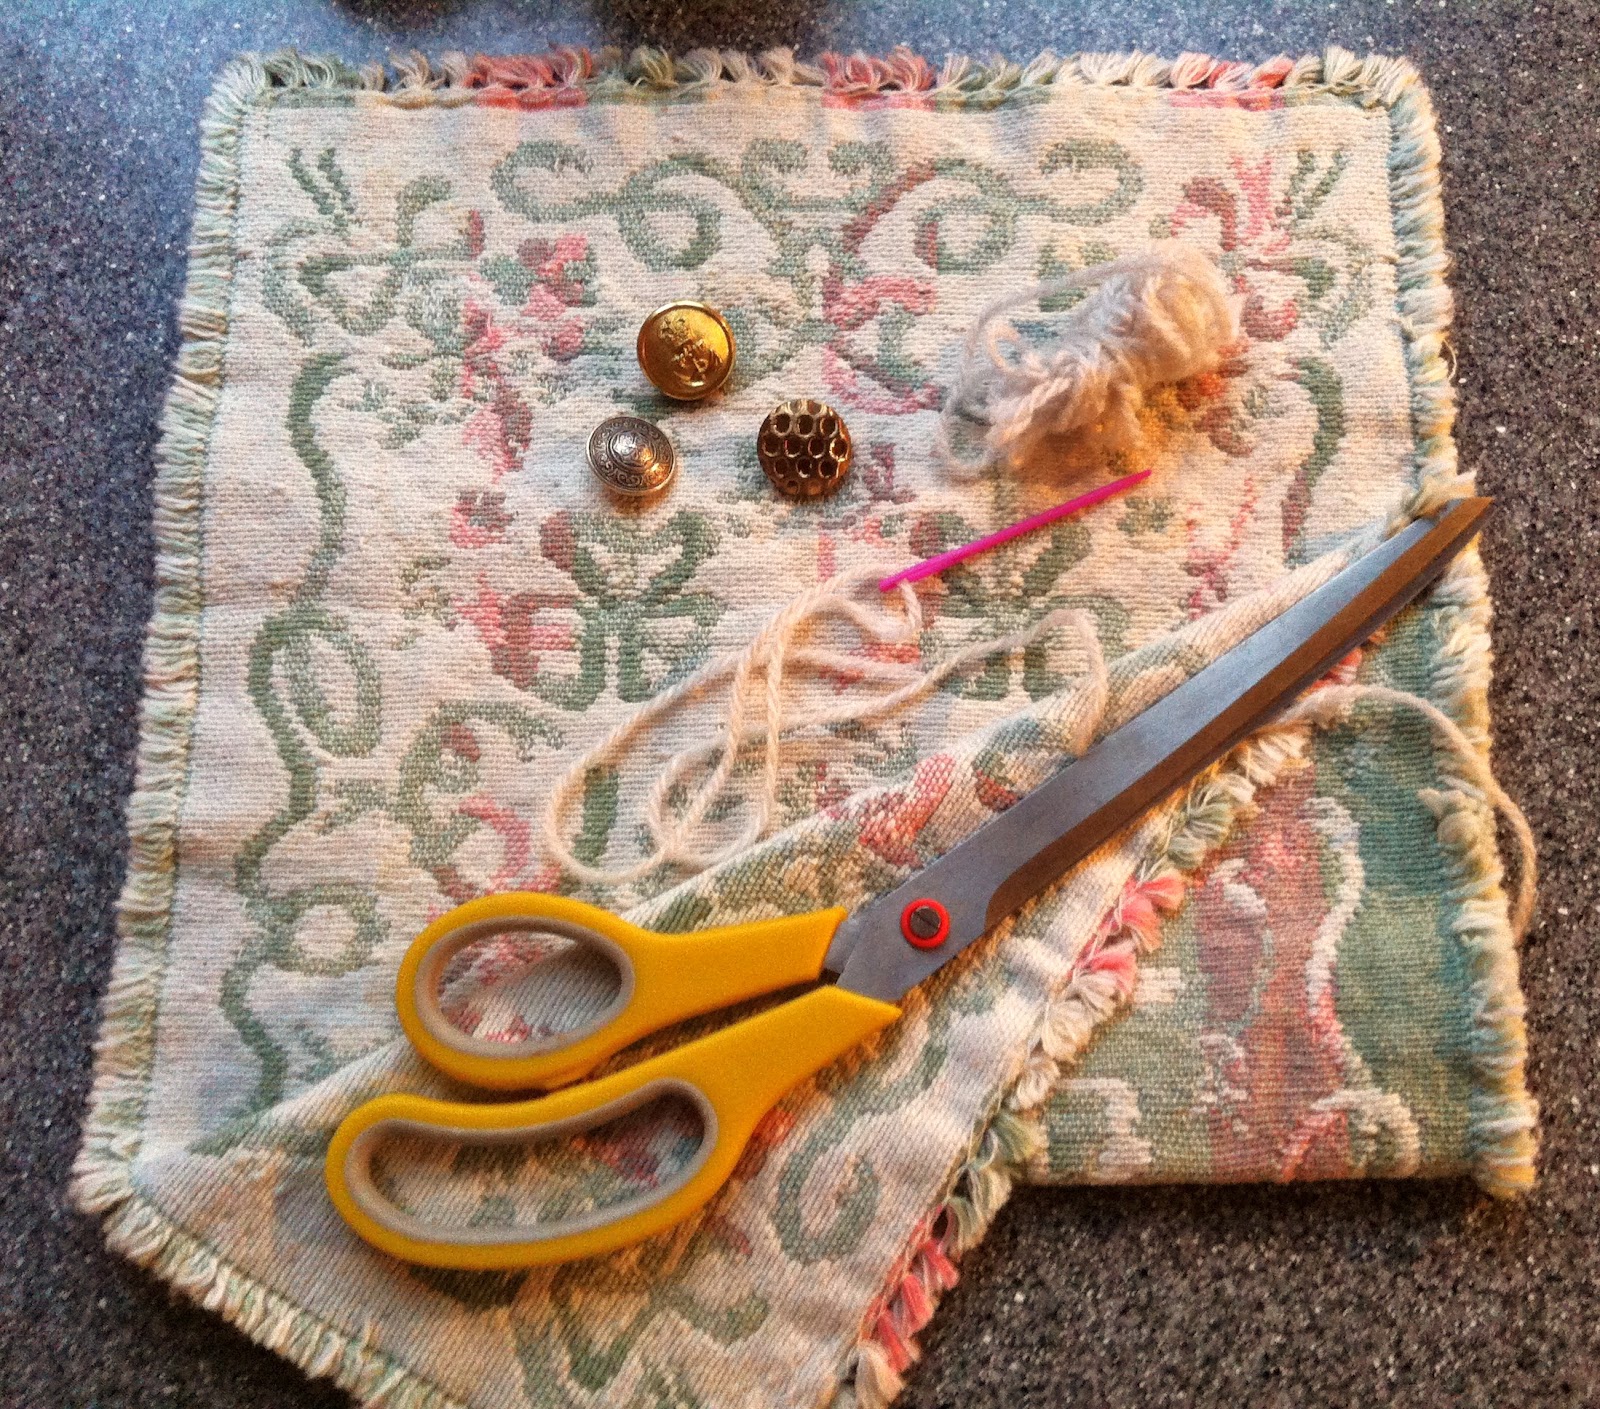
You will need:
Small rug (I picked up mine from a charity shop for 50p)
Wool of choice (I chose a colour within the rug)
Wool needle
A button/clasp to seal the clutch
Scissors

Lay the rug out flat with the good side down.
Fold up the bottom half to the required height. This will be the depth of your bag. Make sure you have enough room to carry the essentials!

Fold the top half over the bottom half to make sure you have the right proportions and are happy with how it looks overall.
Adjust the height of the bottom half if necessary.

Unfold the top half now you know your proportions are looking good.
Hand stitch from bottom to top of one side of the bottom fold using the wool needle and wool of choice.
Small neat stitches about 1cm from the edge work well.
Repeat on the opposite side.

As you can see, both edges have been stitched to form the holding compartment of the clutch bag.

Fold over the top flap and sew on a button/clasp/toggle in the centre of the bottom edge of the top flap.

Mark the spot under the button/toggle where the loop will be sewn in on the bottom fold.
With the needle and thread, come through the back of the bottom fold and make a small loop for the button/toggle to fit through and tie off.
This will hold the top fold in place and keep all your belongings safe!

So there we have it, ta da! Simple, quick and easy clutch bag... oh and unique, stylish and cheap!
No comments:
Post a Comment